This post may contain affiliate links, meaning, at no additional cost to you, I may earn a commission if you click through and make a purchase
Let’s talk about my yard: I love my home—but gardening here? That’s a different story.
My house sits on the top of a hill (great for flood insurance, not great for carrots), and the entire yard is a mix of grass and moss. And when I say moss, I mean the kind that laughs at your dreams of tomatoes. But I wasn’t about to let a slope and some spongy ground stop me from growing food. Eventually, I plan to have several raised beds along the east side the yard.
So if you’re staring at your own less-than-perfect yard wondering where to start, here’s how I built my first raised bed garden on a slope—and what I’ve learned so far.
Disclosure: Some of the links below are affiliate links. Meaning, at no additional cost to you, I will earn a commission if you click through and make a purchase. Please read our Privacy Policy
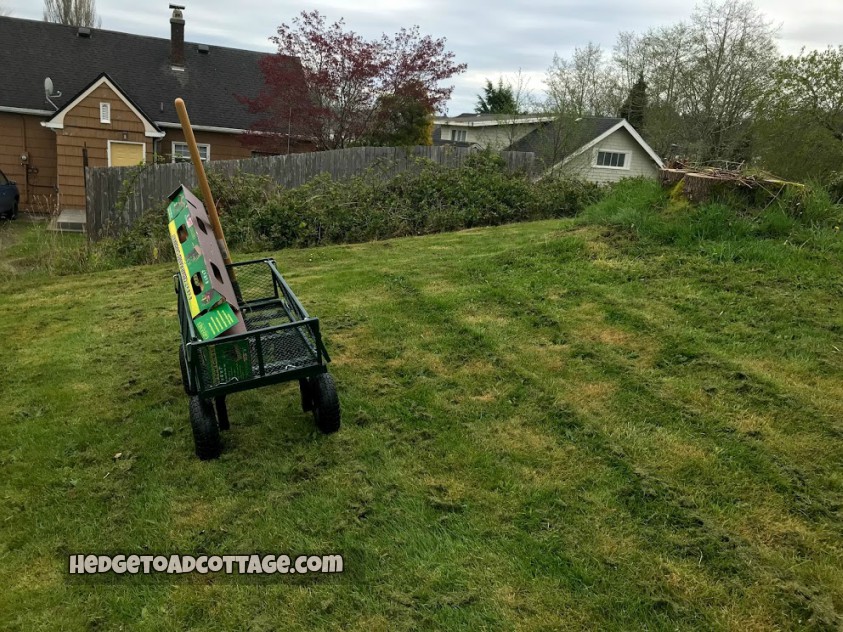
Why a Raised Bed?
When your yard is a soggy, sloped mess, building raised beds is your best bet. They help with drainage, soil control, and they give your veggies the root room they need to thrive. And on a hill? You can terrace them—think mini garden steps—for a setup that looks great and works hard.
Yes, it’s more work up front. But it’s the kind of “good sore” you feel after doing something worthwhile. (Unlike stepping on a rake, which is the bad kind.)
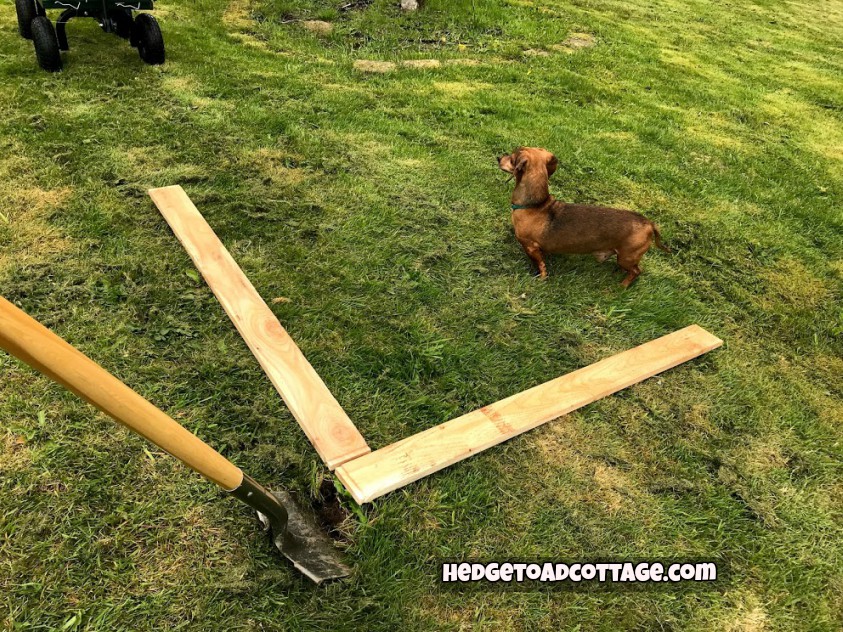
Laying it Out & Digging it In
After deciding where to build, I laid out the frame right on the grass. I eyeballed the square with the property lines (you don’t have to get the compass out), then marked where I needed to dig.
Spoiler: You’ll be digging more on the uphill side. I had to go about 8 inches down. And yes, you need a level—don’t trust your eyeballs. Trust gravity and a $5 level from the hardware store. It’ll save your sanity later.
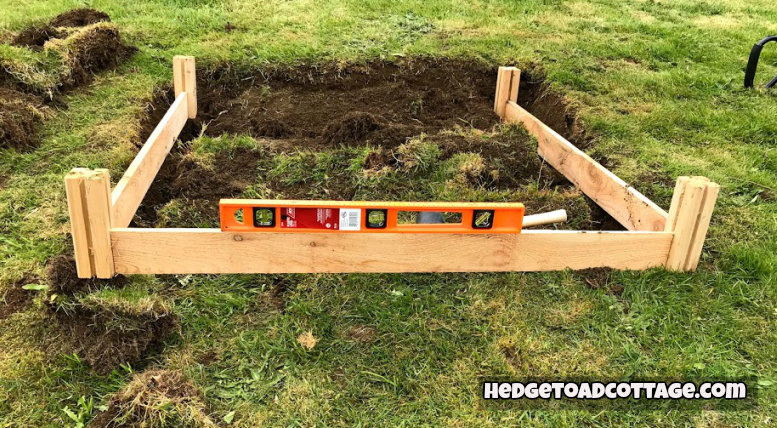
If one corner’s too high, you can dig it down or prop the others up. I used clumps of moss and sod like a gardening MacGyver. As long as just one corner is propped, the bed should stay steady
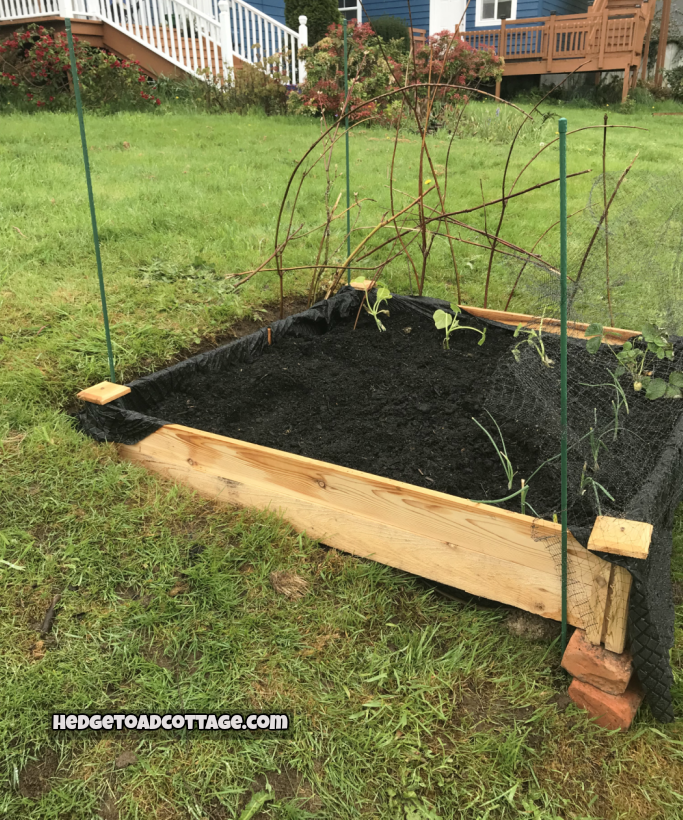
Weed Prevention 101
This next step is key, especially if you’ve inherited a yard full of wild weeds and mystery plants:
- First layer: Cardboard
- Second layer: Landscape fabric
Cardboard helps smother weeds (especially the pernicious ones that laugh in the face of Roundup). Landscape fabric adds another barrier. Trust me—don’t skip this. You’ll thank yourself when you’re not yanking out thistles mid-August.
Let’s Talk Dirt + Plants
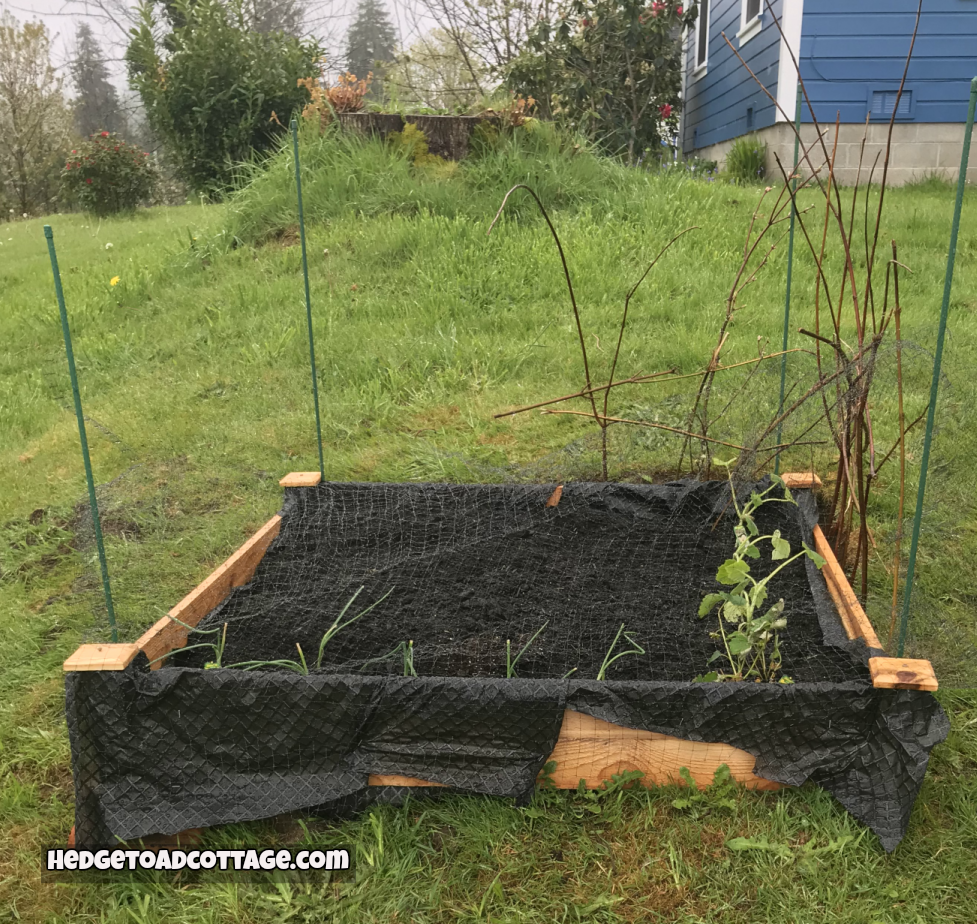
Once the frame was level and weed-blocked, I filled it with soil. You want at least 6 inches of good dirt (more is better). I went with a veggie-friendly mix and started planting right away:
- Zucchini and onions (from starts)
- Peas (from seed)
- One brave little strawberry plant (my test subject in this new micro-climate)
Deer Situation (a Saga)
You’d think building the bed was the hard part. But no. The real challenge? Deer. Poop doesn’t lie—they’ve claimed this yard as their own salad bar.
I had a little leftover deer fencing from another project, but not enough. So I went full homesteader: grabbed some old branches from last year’s brush pile and wove a natural fence. (10/10 for creativity, 6/10 for effectiveness.)
Edit: I came outside a few days later to find plants munched down to nubs. Ordered more fencing that night. Natural fencing = rustic. Deer = ruthless
Final Thoughts: Start Small, Grow Big
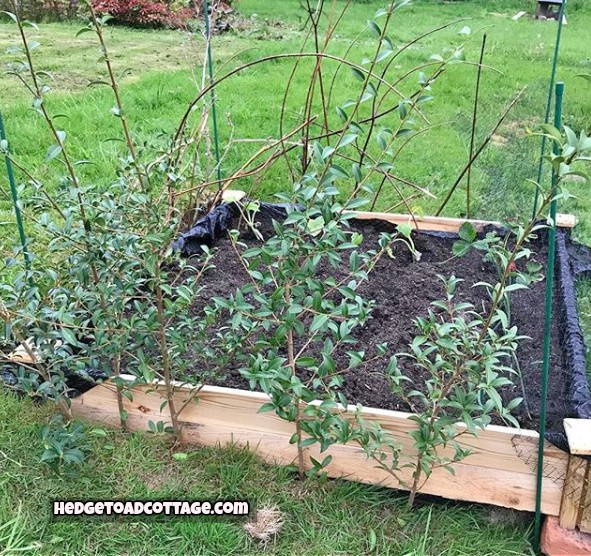
If you’re a beginner with a tough yard—whether it’s sloped, mossy, or just plain stubborn—start with one raised bed. Learn what works in your space. Take notes. Be okay with mess-ups. (Looking at you, deer.)
Eventually, I plan to build a few more beds along the east side of the yard. But for now? I’ve got a patch of zucchini, onions, peas, and a strawberry plant with high hopes. And that’s more than enough to call it a win.
🌱 Your Turn!
Have you started your first raised bed yet? Got questions about building on a slope, or deer-proofing without going broke? Drop them in the comments—I’d love to hear what you’re growing (or dreaming of growing)!
Let’s build gardens together, one imperfect yard at a time!

