
This post may contain affiliate links, meaning, at no additional cost to you, I may earn a commission if you click through and make a purchase
If you live in an older home, you struggle: charming character, squeaky floors, and closets the size of a shoebox. When you’re trying to live more simple and stay organized, a tiny, cluttered closet just won’t cut it. That’s exactly why I tackled this small closet makeover! To transform a chaotic catch-all into a functional, frugal, and cute storage space.
Whether you’re drowning in seasonal gear or just want to stop the avalanche every time you open the door, this step by step guide walks through the process of how I turned one sad little closet into a powerhouse of organization – without breaking the bank or knocking down walls. Let’s dive in!
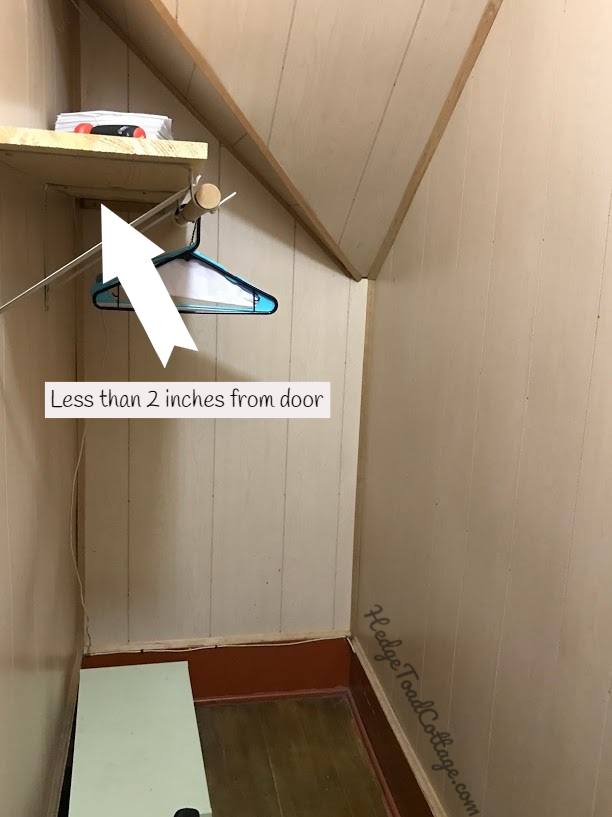
Not only does the closet bar start next to the door, but there was a wall shoe rack on the opposite side, giving about 6 inches of passing space. There’s also another door on the opposite side to another bedroom – old houses always have many, many doors. That made for even less space to do anything, if it was in use. Plus, don’t you love the wood paneling?
No matter what type of house you’re in, you have to maximize the space you have. While the closet is narrow and there is a weird corner due to the roofline, the rest of the walls are really tall. This is usable space for storage of off-season clothing. That second door does not need to be used, so I’m going to treat it like a wall.
Maximizing Space Guidelines
- Declutter – This is the not so fun aspect, but you have to get rid of stuff. Clothes you haven’t worn in a year; that well-loved skirt that you are sure will come back in style one day… it’s all gotta go.
- Give yourself room to move! Just because you can have four full-length shoe racks doesn’t mean you should! You should be able to look at what is your closet without bumping into anything.
- Lights! No one likes a dark closet and you will lose track of items in the back
- Make your walls work for you! Light colors make a room seem larger than it is, as do mirrors.
- Use what you have! Don’t let corners go to waste; put shelves all the way up to the ceiling and don’t forget about the back of the door.
First Steps
I came up with this plan after moving stuff around for about 30 minutes and bumping into the shoe rack about 20 times. Testing out plans before starting anything major will mean success at the end and a design that works for you. That shoe rack was not working for me and did not fit into my plan.
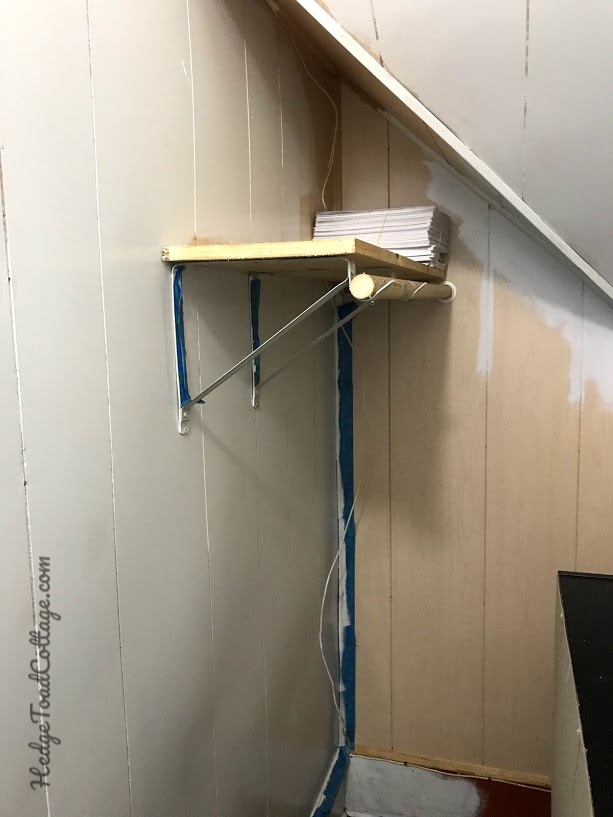
The first thing I did was remove the shoe rack from the wall. That opened up a lot of space to move around in. Then I reduced the length of the clothes hanging rod and shelf. I cut off about 13 inches and instantly I could walk in without feeling crowded. I think half the battle in having a great closet is feeling like there is space to move around. You can fool yourself into doing this by making sure that you have space to walk around and using light colors.
Painting for a small closet makeover
I decided the closet was a great testing place for paint colors and I painted it a very light silvery grey (Behr Silver Feather). I really liked it and it instantly brightened the entire space. Light colors reflect any light, instantly making a simple light much more powerful.
Painting paneling is fairly easy, but there is some extra prep required. Before painting, the walls need to be cleaned really well and then sanded lightly. The panels from the 1970’s especially usually have a lovely shiny veneer. The paint will stick better if you sand lightly before painting.
You can use a lightweight spackle to fill in the groves if you want. Since this was a closet, I skipped that step. I’d rather save the time, than have smooth walls. To paint the walls, I used a paint with primer, so I could go directly to painting color on the walls. It did still need two coats to get an even coverage.
Shoes
Since I removed the shoe rack on the wall, I needed someplace to put them. I have a lot of these black bookcases from the living room of a previous house. They looked great there, but are too small for the new living room with 10-foot ceilings. Now, at least one is going to be great for storing shoes. I can see every pair I have and they’re all easily accessed.
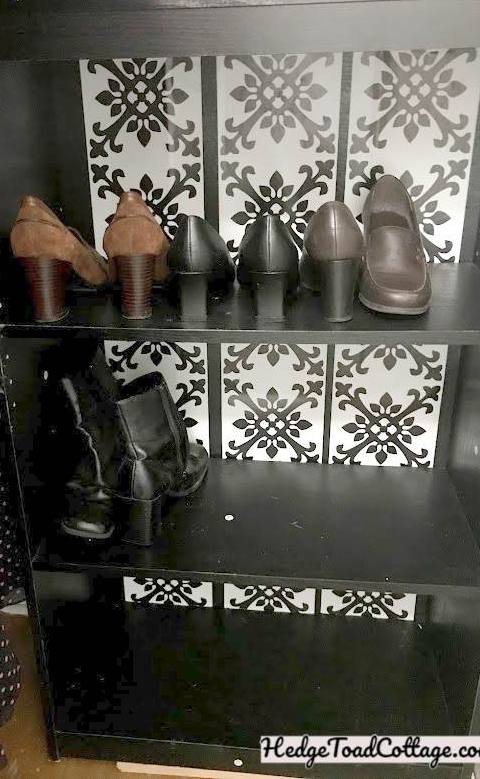
I added this Tangier border sticker to the back of the shelf to make it a little more charming. If you can’t try out new patterns or colors in your closet, where can you?
These stickers are super easy to install. They’re vinyl, peel and stick. I’m a big fan of peel and stick. The hardest part is making sure that the placement of the strips are evenly spaced and straight all the way down. It’s also priced right for a closet! Plus, I had several feet left over for other closet projects!
Use the Wall Space!
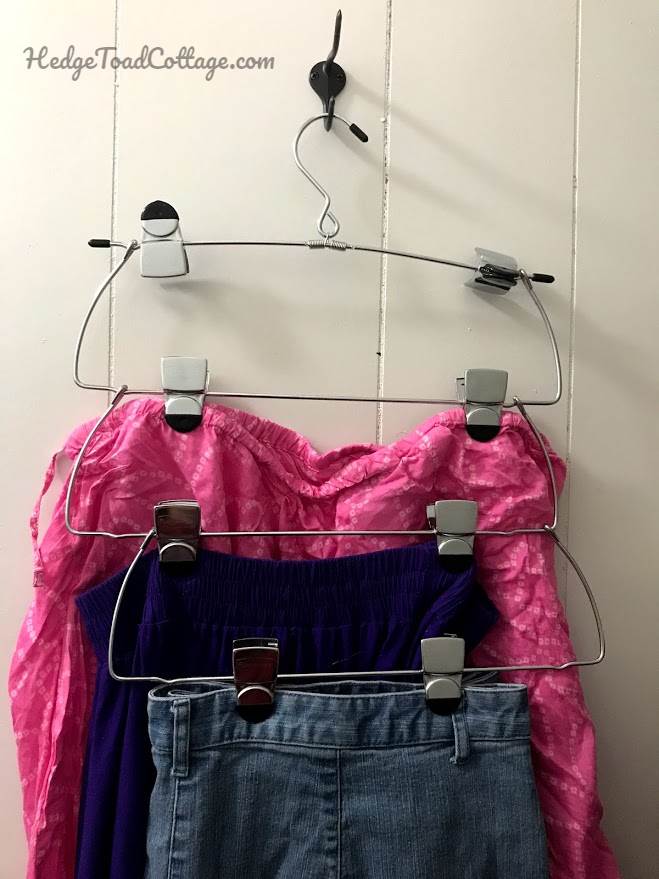
Since I cut off part of the closet rod and I’m looking to have more space to move around in, I installed hooks and used multi-item hangers. These are great for skirts, pants, and accessories. This way, I can store more clothes and see everything and have plenty of space! Raise your hand if you’ve ever forgotten about having something in your closet, because I know I have! This small closet makeover has brought everything back into the light.
Using these hooks and hangers take up more flat wall space than a hanging rod, but they don’t limit floor space. In this is going to be a walk-in closet, having space to walk in is important.
Use All Your Space
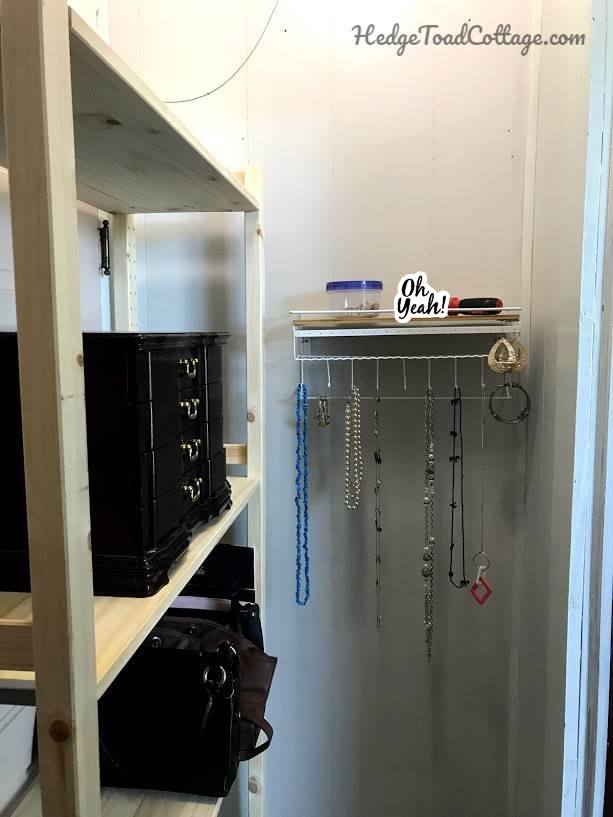
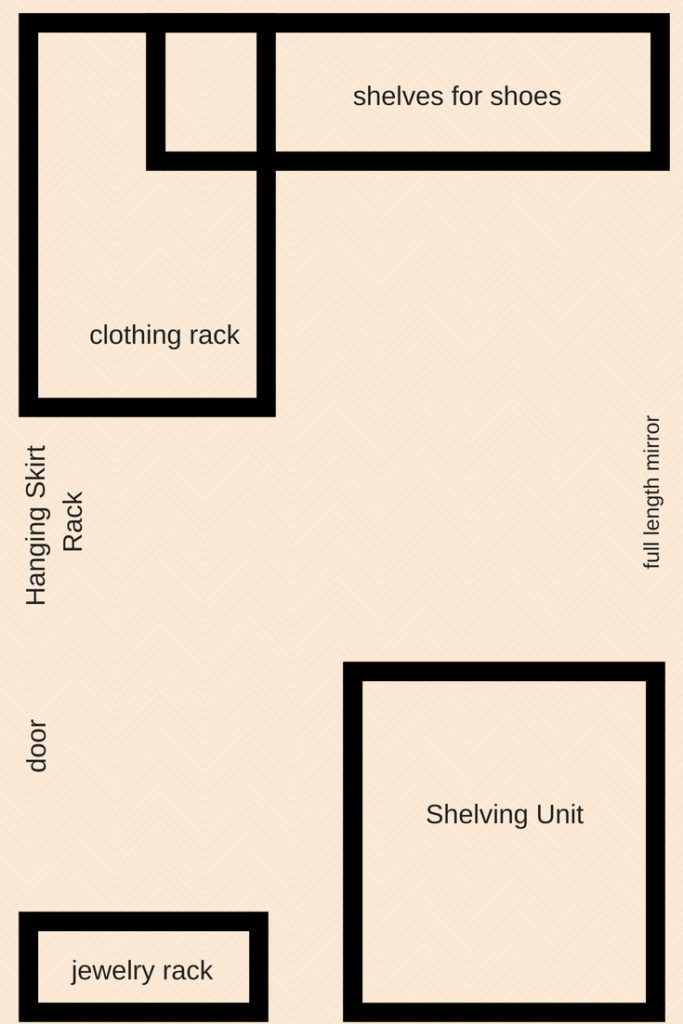
Remember that door into the next bedroom? Well, it’s still there, but I put a wooden shelving unit against it to store accessories. The door is unneeded and treating it like a wall gives me more options for storage. I love purses and bags, so I need a place to store them when not in use. Plus, I can also use the top shelf to store off-season clothes. With a new jewelry rack in an unused corner, I can put everything in one space for easy access.
I didn’t take a picture of it (just in case some kids are reading), but since the ceilings are so high, I added shelves near the ceiling. I’m going to use for hiding secret things, like holiday presents. (Hint) I can also use the storage space to store little-used items that always need at least once a year. Like my graduate school hood or my 1980’s bomber jacket. That jacket will totally come back into style one day!
Although this project started out as a simple 1-hour closet reorganization, adding decorative touches has pulled the entire design together. It feels like I can go in and find everything I need without the claustrophobia.
How have you organized your closet? Have you done a small closet makeover? Do you have any recommendations?

Read more about my DIY punch list for this house rehab.


What great ideas!
Thank you!
Your closet looks great!
Thank you!
I really like the way your space came out! I used to use a similar hanger that you used for your pants for my purses until my collection got way out of control! It worked great for a while. I featured your closet in this week’s Make Life Pretty Monday link party. Hope to see you tonight starting at 8 pm!
Kate | The Organized Dream
Thank you! I have to say that I did get rid of many items of clothing before the overhaul. But the things I love stayed, they just got a much higher hanging spot 🙂