This post may contain affiliate links, meaning, at no additional cost to you, I may earn a commission if you click through and make a purchase
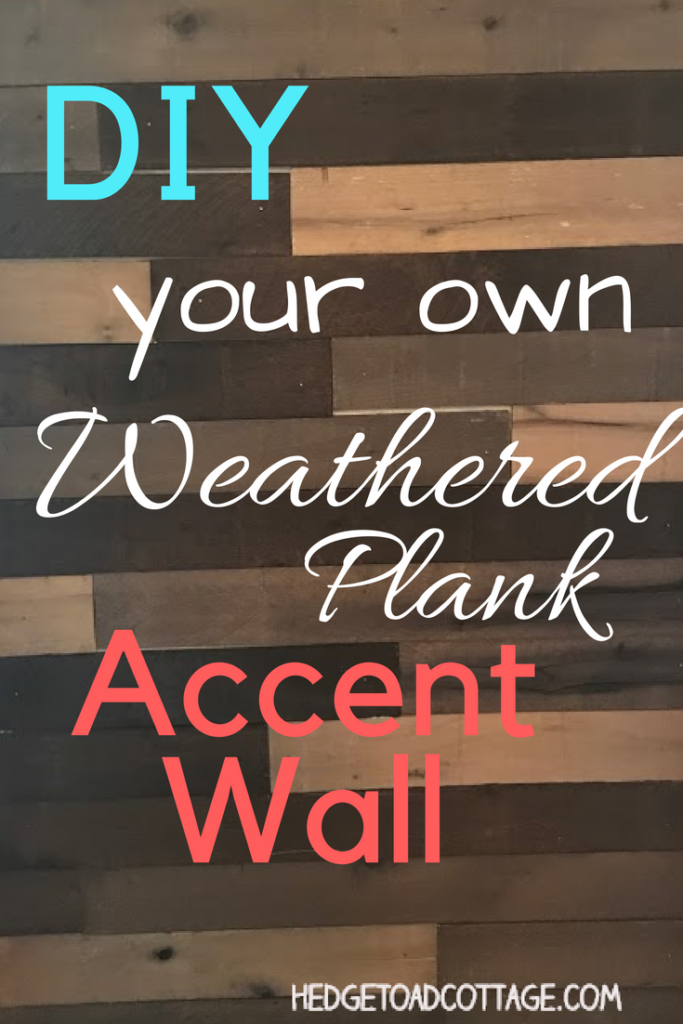
One of the more popular trends these days is a weathered plank accent wall. They’re almost as popular as the shiplap wall. I’m not too big on following fads, but I have a very small and very ugly wall that is perfect for trying out something new in decor. It’s a wall at the end of the upstairs hallway between two bedrooms and it’s the only wall with a texture. I dunno if a previous owner was attempting a stucco look or what, but what it is, is super ugly.
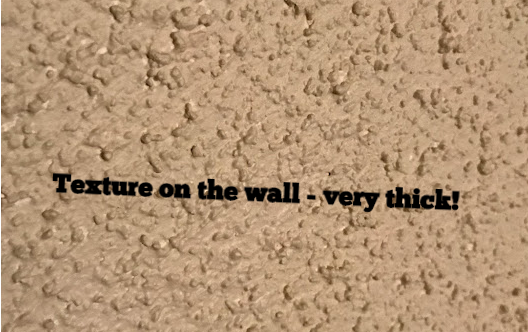
Come to think of it, perhaps a previous owner used this wall to test out the texture. Plus, after an hour of attempting to scrape it off, coving this wall with weathered planks sounded like a fantastic idea!
Supplies:
I was wandering around Home Depot, looking for an easy option for this wall. I found these boxes of “weathered” hardwood planks
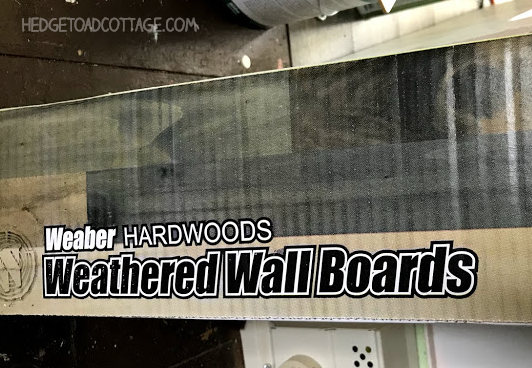
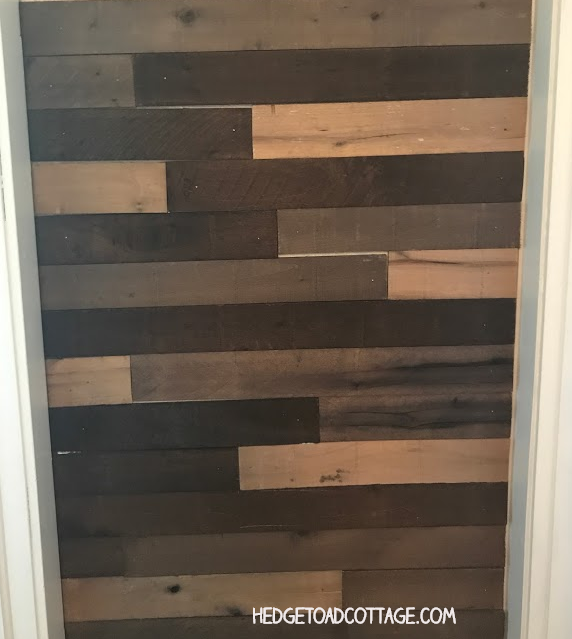
The planks are about 4 feet long, 1/2″ thick and 4″ wide. Each box contains 8 boards of varying colors. Usually two light, three medium (not very grey) and three in a dark chocolate brown. They were perfect for my little problem wall.
I also needed:
to stabilize boards on the wall – it also reduces the need for a bunch of nails to support. This aerosol canister is super easy to use (no need for a ‘gun’ to spread) and was foamy enough to fill in around the texture on the wall.
if you want a staggered look, you’re going to have to cut some of the boards. I usually measure three times before cutting because I’m somehow incapable of measuring really well.


Having a jigsaw is one of the best things I’ve ever bought! Doing a wall like this having to hand saw the pieces would have been tortuous. Really, anyone who is planning on doing DIY projects should at least have this. It’s great for beginners too!

In an old house, walls and ceilings are not level. That’s just a fact of life. Making sure your boards are level is important if you don’t feel a little seasick walking around the home.

Of course, a hammer and nails are needed –


The Project
The wall space is only 3 and a half feet wide, so I cut the first board to cover the wall completely. My first thought was to just have single boards stacked up the wall. It didn’t look that great though. Instead, I staggered the splits to give in a more interesting look. Doing this also made the space look wider.
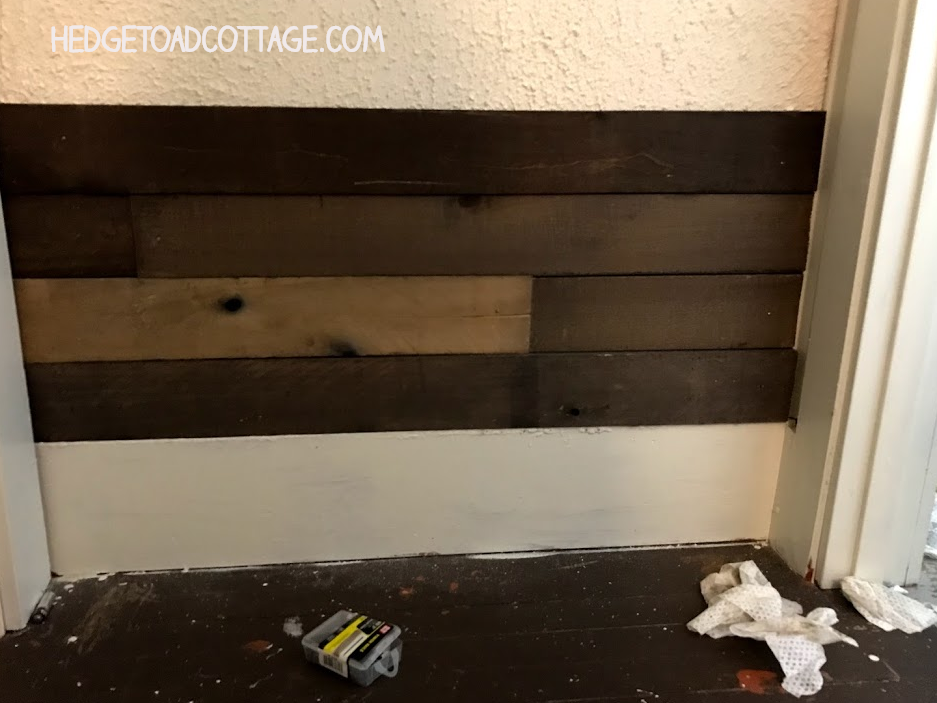
One of the first things I noticed was that not all weathered boards are the same. They’re not uniform in size or shape. Some were warped a bit, some were more narrow, so laying out the boards before attaching them to the wall is very important. It’s also important so that you don’t end up with an accidental pattern or clump of colors. It takes planning to make something look really random.
Once I got into the groove, it only took about 4 hours to complete the entire wall. The wall area is pretty short, so there was much more cutting than if I was doing a larger wall. It was worth it, though.
It’s another project marked off my house punch list!